
[splash image]
MTAA-RR » news » mriver » autotrace 2 miro s nocturne performative how to part 2:
Apr 19, 2010
AutoTrace #2 (Miro’s Nocturne; performative) How To Part 2
posted at 13:48 GMT by M.River in /news/mriver
Welcome back to Autotrace #2 How To.
When we left off in Part 1, the canvass was stretched and ready for image transfer.
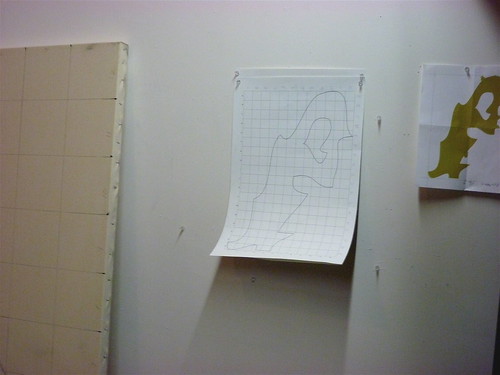
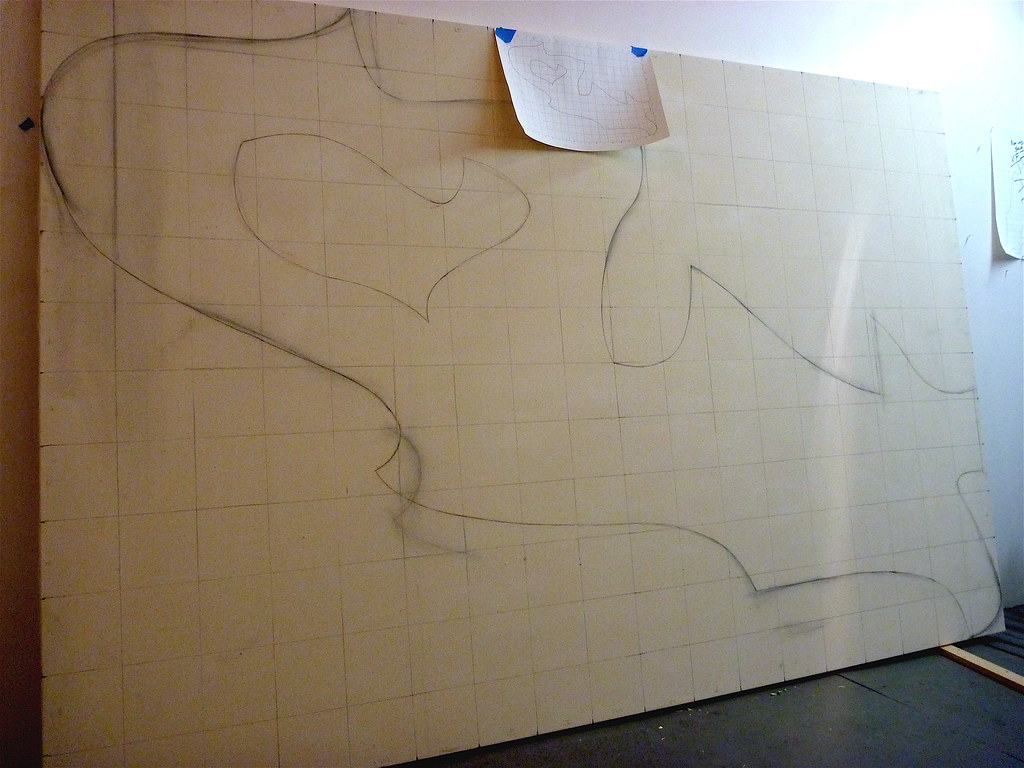
For the image transfer, the first thing you will need to do is print out an image of Autotrace #2 and place a grid over it. Here is the one we used.
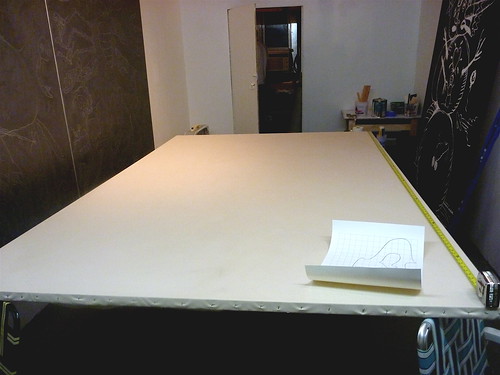
Next, you will need to grid the canvass. We used a 6” grid drawn in with pencil.
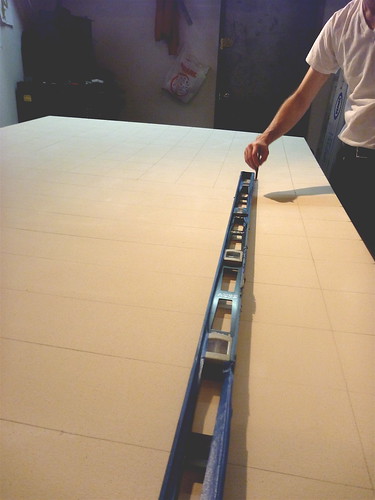
You are now ready to transfer the image. Using the grid for reference points, we started by free handing the lines. Then, using 1/4 inch plywood cut into a 2 inch by 4 foot strip, we bowed the wood (on edge) over the lines and retraced. This gave the archs a crisper line.
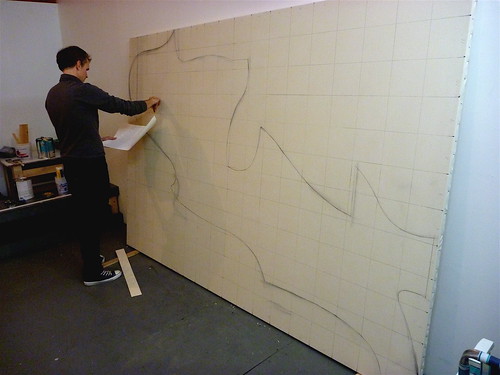
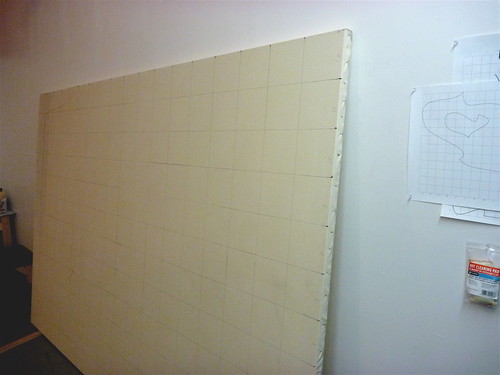
It will take some time to transfer the image. Using your drawing as a guide, you should feel free to erase lines and retrace them until they seem correct.
Next up, painting. permanent link to this post
When we left off in Part 1, the canvass was stretched and ready for image transfer.
For the image transfer, the first thing you will need to do is print out an image of Autotrace #2 and place a grid over it. Here is the one we used.
Next, you will need to grid the canvass. We used a 6” grid drawn in with pencil.
You are now ready to transfer the image. Using the grid for reference points, we started by free handing the lines. Then, using 1/4 inch plywood cut into a 2 inch by 4 foot strip, we bowed the wood (on edge) over the lines and retraced. This gave the archs a crisper line.
It will take some time to transfer the image. Using your drawing as a guide, you should feel free to erase lines and retrace them until they seem correct.
Next up, painting. permanent link to this post
MTAA-RR » news » mriver » autotrace 2 miro s nocturne performative how to part 2